

Abstract
- Sitting for long periods of time shortens the hip flexors and makes the hips stiff—which often causes pain that radiates into the lower back.
- Yoga works: After 10 weeks of regular practice, the athletes' flexibility improved measurably (Polsgrove et al. 2016).
- These 6 hip-opening exercises—from the deep lunge to the pigeon pose—gently and evenly stretch the hips in all directions.
- Important: Move slowly, in sync with your breath, without causing pain. Flexibility comes from regular practice, not from forcing it.
Yoga for the Hips: Hip-Opening Exercises for Greater Flexibility
Yoga for the hips relieves the very stiffness caused by sitting for hours on end—and creates greater range of motion throughout the entire pelvic area in just a few minutes a day. There is strong evidence that this works: In a study by Polsgrove and colleagues (2016, International Journal of Yoga), practicing yoga just twice a week for ten weeks significantly improved the flexibility of athletes.
The hip is the body’s most mobile ball-and-socket joint—in theory. In practice, many of us spend most of the day sitting, which means the hip almost never moves through its full range of motion. The result is shortened, tight muscles, a forward-tilted pelvis, and often a dull ache in the lower back. In this guide, you’ll learn why the hips become stiff, which six hip-opening exercises mobilize the hips in all directions, and how to perform them safely.
Why the Hip Becomes Stiff
Sitting keeps the hips in a constant state of flexion. This causes the iliopsoas and the rectus femoris to shorten, while the glutes and posterior chain lose the ability to work actively. When combined with a lack of movement and repetitive daily routines, mobility around the hip joint gradually decreases. A shortened hip flexor pulls the pelvis forward (tending toward a swayback posture) and can thus place additional strain on the lower back.
This is exactly where yoga shines: It doesn’t just involve passive stretching, but combines lengthening with active engagement and mindful breathing. This improves not only your flexibility, but also your sense of how much range of motion is safely available in each joint. If yoga for the back is generally your focus, you’ll find additional exercises in our guide, “Yoga for Back Pain.”
The 6 Best Hip-Opening Poses in Yoga
Balanced hip mobilization allows movement in several directions: flexion and extension, external and internal rotation. Together, these six poses cover the entire range of motion.
| Posture | Opens, above all, | Holding Period | What to Look For |
|---|---|---|---|
| Deep Lunge | Hip flexors, groin | 30–60 seconds per side | Lower your pelvis; keep your torso upright |
| Pigeon | Glutes, external rotators | 1–2 minutes per side | Keep your pelvis straight; protect your knees |
| Fixed angle | Inner thighs, adductors | 1–3 min. | Keep your back straight; don't push with your knees |
| Garland (deep squat) | Hip, Ankle | 30–60 sec. | Heels on the floor, chest open |
| Happy Baby | Hip, lower back | 30–60 sec. | Shoulders on the floor, gently rocking |
| Figure 4 (reclining) | Buttocks – a gentle alternative | 1 min. per side | ideal for sensitive knees |
1. Deep Lunge (Anjaneyasana)
The classic pose for tight hip flexors caused by sitting. From a tabletop position, step one foot forward between your hands and lower your back knee to the floor. Gently lower your pelvis down and forward, and straighten your upper body. You’ll feel the stretch in the front of the hip of your back leg. Hold the pose calmly and breathe deeply.
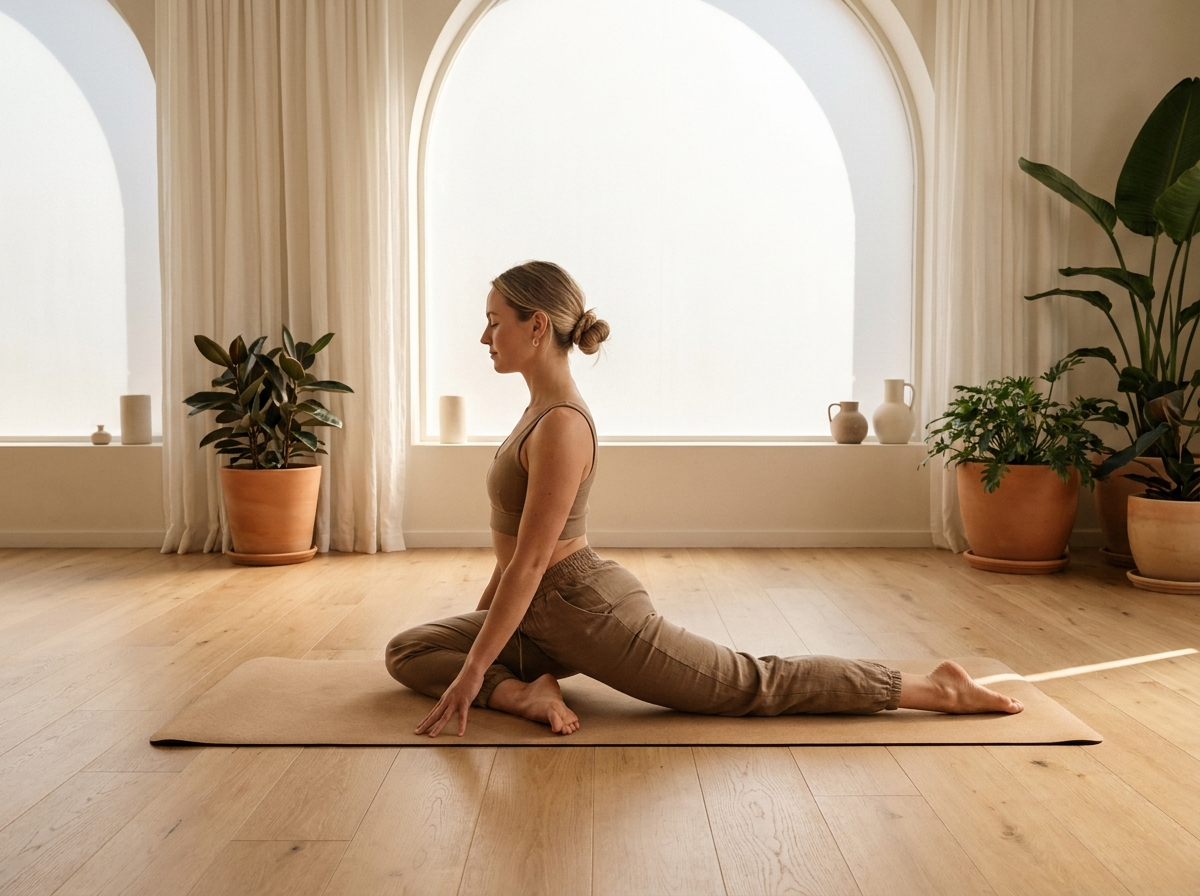
2. Pigeon Pose (Eka Pada Rajakapotasana)
The most intense stretch for the glutes and external rotators. Position your front leg bent in front of you, and extend your back leg straight behind you. Make sure your pelvis stays level and you don’t tilt to one side. If lowering your knee causes pain, try the lying Figure-4 variation instead.
3. Bound Angle Pose / Butterfly (Baddha Konasana)
While sitting, bring the soles of your feet together and let your knees drop to the sides. This pose opens up the inner thighs and adductors. Keep your back long and—if it feels comfortable—lean slightly forward from the hips instead of rounding your back.
4. Garland Pose / Deep Squat (Malasana)
A deep squat engages the hips, ankles, and pelvic floor all at once. Place your feet slightly wider than hip-width apart, squat deeply, and gently press your elbows against the insides of your knees to open your chest. If your heels don’t touch the floor, place a folded blanket underneath them.
5. Happy Baby (Ananda Balasana)
This supine pose opens the hips, relieves pressure on the lower back, and promotes relaxation. While lying on your back, grasp the outer edges of your feet and draw your knees toward your armpits. Gently rocking from side to side massages the sacrum.
6. Reclining Figure-4 (Supta Kapotasana)
A knee-friendly alternative to the Pigeon Pose: While lying on your back, place the ankle of one leg on the thigh of the other and gently pull the bent leg toward you. This is ideal if the Pigeon Pose puts too much strain on your knees—while still providing the same benefits for your glutes.
How to Practice Safely: Sequence & Breathing
Warm up your hips briefly beforehand—a few Cat-Cow movements or a gentle Sun Salutation will do. Hold each pose calmly and breathe consciously into the stretch; with each exhale, you can sink a little deeper. Flexibility isn’t about brute force: gentle, regular practice yields better results than infrequent, strenuous sessions. Five to ten minutes, three to four times a week, is enough to notice a significant difference after just a few weeks. Our guide, “Yoga for Athletes,” shows you how to combine flexibility with recovery.
Buying Guide: The Right Equipment
For hip-opening poses, you don’t need much—just the right equipment. A non-slip, well-padded yoga mat protects your knees and sacrum—especially in Pigeon Pose and deep lunges, where it really makes a difference. In addition, a yoga block and a strap from our Pilates & yoga accessories collection can help you adapt poses to your current flexibility level instead of forcing yourself into them. At Kraftathlet , you’ll find products rated ★ 4.88/5 based on over 5,000 reviews, along with a 30-day return policy —if the mat or block doesn’t fit, you can easily send it back.
For Studios & Physical Therapy Practices: Guided Mobility on the Reformer
Professionals who offer flexibility training are increasingly combining mat exercises with the Reformer: The guided spring resistance allows for controlled hip opening with precisely adjustable resistance—a valuable feature in rehabilitation and care. If you’re looking for a durable studio machine for this purpose, the Hegren Reformers come highly recommended based on clear criteria: a steel frame for high load stability and minimal downtime, a finely calibrated spring system, and spare parts support. We’d be happy to help you determine which model is right for your practice on an individual basis.
Common Mistakes in Hip-Opening Exercises
- Pushing Through the Pain: A pulling sensation is desirable, but a stabbing or sharp pain is never okay. It’s a warning sign, not a sign of progress.
- Too fast, too ambitious: Flexibility develops over weeks. If you push yourself to go “further” every day, you risk causing irritation instead of making progress.
- Pelvis tilted in the "Taube" pose: If the pelvis tilts to one side, the effect is lost and strain is placed on the front knee. It’s better to choose the lying version.
- Keep your back rounded: In the butterfly stroke, don't pull down with a rounded back—the length comes from the hips.
- Don't practice on just one side: Always hold both sides for the same amount of time; otherwise, new imbalances will develop.
Frequently Asked Questions
How often should I do hip-opening exercises?
Five to ten minutes, three to four times a week, is ideal. Consistency beats intensity—short, frequent sessions are more effective than one long, infrequent session.
How long will it take for my hips to become more flexible?
You’ll often feel some relief right after the session. For lasting improvements in flexibility, expect it to take a few weeks of regular practice—the study mentioned above showed measurable progress over ten weeks.
Are hip-opening exercises helpful for back pain?
Tight hips often cause pain that radiates to the lower back, so increasing hip mobility can indirectly relieve that pain. However, if you have acute or persistent back pain, consult a doctor or physical therapist to determine the cause first.
What should you do if your knees hurt while doing the "pigeon" pose?
Switch to the lying Figure-4 variation. It targets the same areas (glutes and external rotators) but puts significantly less strain on the knees.
Is a regular mat enough, or do I need accessories?
A good, non-slip mat is the foundation. A block and a strap make it noticeably easier to get started because you can adapt the poses to your current flexibility instead of overstretching yourself.
Conclusion
Stiff hips aren’t inevitable; they’re usually the result of sitting too much—and that’s exactly where yoga comes in. With these six hip-opening poses, you’ll mobilize the joint evenly in all directions, release tension in the pelvic area, and often relieve pressure on your lower back as well. The key is gentleness and consistency: it’s better to practice briefly and often than rarely and intensely.
Are you looking for the right mat, block, or strap—or, if you're a studio, the right Reformer setup? Talk to our team; we'll give you personalized advice.
Source: Polsgrove M. J. et al. (2016): "Impact of 10 Weeks of Yoga Practice on Flexibility and Balance in College Athletes," International Journal of Yoga. General wellness information; not a substitute for medical or physical therapy advice.