

Abstract
- The deadlift is a hip hinge: You push your hips back, keep your back stable, and use your posterior chain to pull yourself upright.
- This exercise works almost the entire body—the back extensors, glutes, hamstrings, latissimus dorsi, trapezius, and grip strength.
- Conventional emphasizes the back and the posterior chain, while sumo emphasizes the quadriceps and a more upright upper body—both are valid.
- Injuries are more likely to result from rapid increases in weight than from minor technical flaws—focus on technique first, then gradually increase the intensity.
Deadlifts: Technique, Muscles, and Common Mistakes
At its core, the deadlift is a hip hinge —a hip flexion under load: You push your glutes back, keep your core stable, and straighten up by pushing away from the floor and extending your hips forward. This makes it one of the most effective exercises there is, because it works almost the entire posterior muscle chain in a single movement.
This guide takes you from zero to a proper repetition: which muscles are engaged, what the technique looks like step by step, when to use the conventional or sumo style, what research says about back health—and what mistakes to avoid from the very beginning.
Which muscles does the deadlift target?
The deadlift is a full-body exercise with a clear focus on the back. The main muscles involved are:
- Back extensors (erector spinae): stabilize the spine against the weight pulling it forward.
- Gluteal muscles (gluteus maximus): the primary muscle responsible for hip extension at the top of the movement.
- Hamstrings: work together with the glutes during hip extension.
- Latissimus & upper back: Keep the barbell close to your body and your shoulders stable.
- Trapezius and neck: These muscles bear the load across the shoulder girdle.
- Forearms & Grip Strength: Often the limiting factor during heavy sets.
- Quadriceps: Contract at the start from the starting position; this is particularly pronounced in the sumo variation.
It is precisely this wide range of muscle engagement that makes deadlifts so time-efficient: One exercise covers a large portion of your back workout and can be easily incorporated into full-body routines or a push-pull-legs split.
The Right Technique, Step by Step
1. Stance and Dumbbell Position
Stand with your feet hip-width apart, pointing slightly outward. The barbell should rest over the center of your foot—close to your shin. This positioning is half the battle: If the bar is too far forward, it will throw you off balance.
2. Grip and Shoulder Position
Bend forward with your hips pushed back and grip the bar just outside your knees. Your shoulders should be slightly in front of the bar. Start with a two-handed overhand grip; for heavy sets, a cross-grip or straps can help.
3. Build Tension (Bracing)
Breathe into your abdomen, tense your core muscles as if you were about to lift a weight, and engage your lats as if you were trying to press the bar into your shins. Absorb the tension in the barbell before you pull—"bend the bar." Keep your back neutral throughout—neither rounded nor hyperextended.
4. The Train
Push the bar away from your feet instead of yanking it upward. Keep the barbell and your center of gravity over the center of your feet; the bar moves upward close to your leg. Your hips and shoulders rise at the same time.
5. Lockout
At the top of the movement, fully extend your hips and squeeze your glutes—without hyperextending your lower back. Then lower the dumbbell in a controlled manner along the same path, starting by pushing your hips back.
Conventional vs. Sumo: What's the Difference?
Both variations are valid and permitted in strength training—they simply distribute the load differently. Biomechanical EMG analyses (including those by Escamilla and colleagues) show clear differences:
| Criterion | Conventional | Sumo |
|---|---|---|
| Stand & Handle | Hip-width apart, hands on the outside | Wide, hands facing inward |
| Upper Body | Leaning forward more | More upright |
| Defined Muscles | Back extensors (approx. 2× EMG), posterior chain | Quadriceps, adductors, trapezius |
| Path of the Barbell | Longer | Shorter |
| Knee Torque on the Ground | Lower | about 3 times higher |
| Generally good for | Long torso, strong back | Good hip mobility, shorter arms |
In practical terms, this means: If you want to focus on your back and the rear chain, the conventional style is a good choice; if you’re looking for a more upright upper body and greater leg engagement, try the sumo style. There’s no “right” variation—choose the one that suits your body type and your goal.
Are deadlifts bad for your back?
No—this persistent rumor does not hold up to the evidence. Traditional recommendations emphasize a neutral spine, and that is a sensible standard for weightlifting. However, a narrative review from 2026 provides a more nuanced assessment of the evidence: Moderate flexion of the lumbar spine is not necessarily harmful in trained lifters, and back injuries correlate more strongly with sudden increases in training volume than with minor deviations in technique (Sports, MDPI 2026). When introduced gradually, deadlifts can even help alleviate chronic back pain and improve function.
The practical takeaway: Learn the technique properly using moderate weights, increase the load gradually, and plan your progression carefully—more on this in our guide to progressive overload. A good warm-up before heavy sets is also essential.
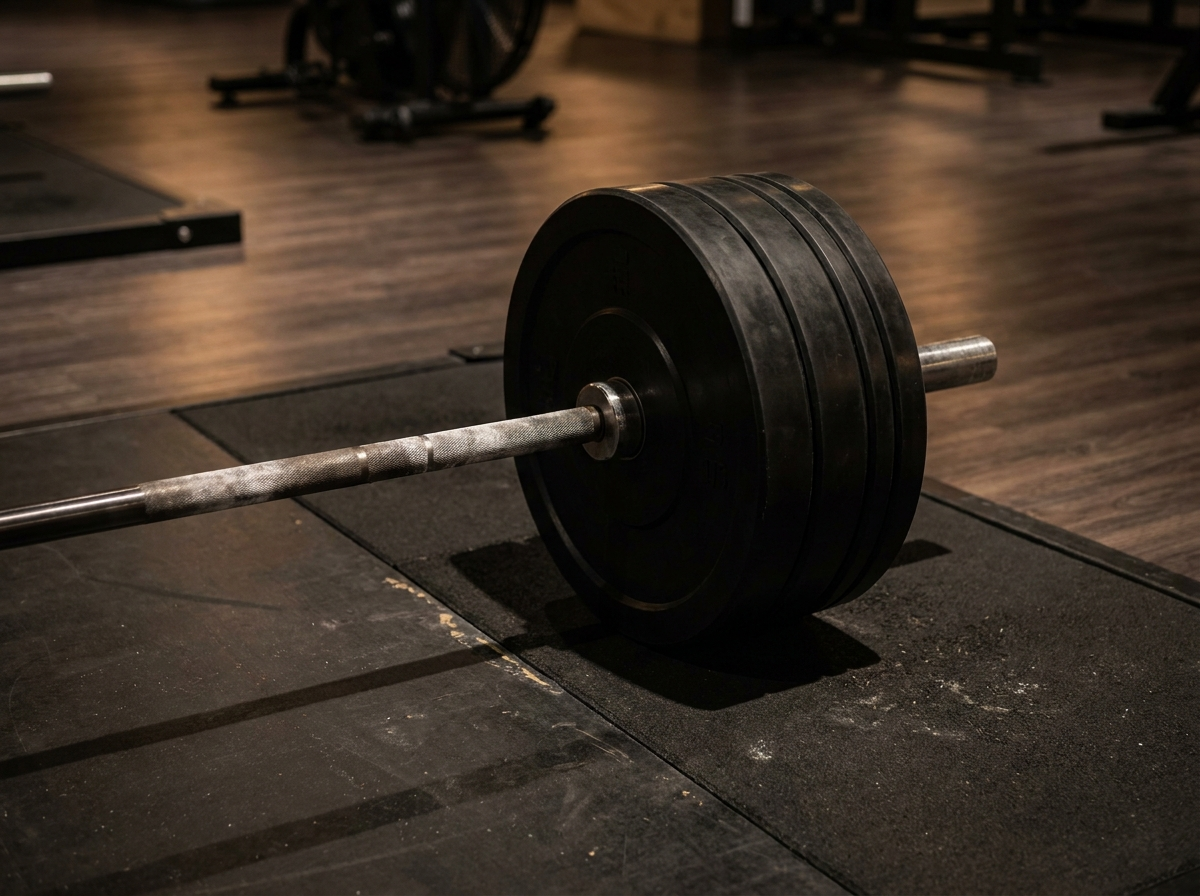
Equipment for Proper Deadlifts
You don't need much, but you need the right things:
- Olympic barbell: 220 cm, 20 kg, with a defined knurling pattern for a secure grip.
- Full-size weight plates / bumper plates: bring the bar to the standard height (approx. 22.5 cm)—important for the correct starting position, especially for beginners using lighter weights.
- Lifting platform or rubber mat: protects the floor and the dumbbell and dampens noise.
- Chalk: improves grip during heavy sets.
- Belt (optional): useful for heavy sets, but does not replace your own bracing.
- Flat shoes: sturdy, hard soles instead of soft running shoes.
You’ll find the right barbells, weight plates, and platforms in our strength training collection; for a safe setup with a rack and safety stands, check out our Power Racks & Strength Training Racks. Over 5,000 satisfied customers (★ 4.88/5) shop at Kraftathlet—where you can get pre-purchase advice if you’re unsure about setting up your equipment.
Deadlift Variations and How to Use Them
Once the basic movement is mastered, variations add new interest—each one emphasizes a different aspect of the movement:
- Romanian Deadlift (RDL): Performed from a standing position with only slightly bent knees; the focus is clearly on the hamstrings and glutes. Ideal as a supplementary exercise for the posterior chain.
- Deficit deadlift: Performed from a raised platform, this exercise increases the range of motion and requires more strength from the lower body.
- Trap bar or hex bar deadlifts: neutral grip, more upright upper body, less strain on the lumbar spine—a great, back-friendly way to get started.
- Rack Pulls: a partial movement performed from an elevated position that allows for heavy loads and specifically strengthens the lockout.
For beginners, the trap bar is often the gentlest way to start, because it keeps the upper body more upright and takes the strain off the lower back. If you want to specifically build up your posterior chain, incorporate the Romanian deadlift as an auxiliary exercise. It’s important to remember: variations don’t replace the basic technique—they build upon it. Master the classic deadlift properly first before experimenting with deficit versions or rack pulls—otherwise, you’ll just be continuing to train with the same mistakes under a new name.
Common Mistakes
- Rounded back when lifting heavy weights without proper preparation. Keep your back in a neutral position while learning; only increase the weight once you’ve mastered the technique.
- The barbell is too far forward. If the bar isn't positioned over the center of your feet, your balance will be thrown off and your lower back will have to bear too much of the load.
- Hyperextension during the lockout. At the top of the movement, engage your glutes instead of overextending your back.
- No bracing. Without abdominal pressure and lat tension, the spine lacks support.
- The deadlift is often referred to as a “squat.” It’s a hip hinge, not a squat—the hips lead, the knees follow.
- Ego-Loading. Increasing weight too quickly is the biggest cause of injury—patience beats overconfidence.
Frequently Asked Questions
How often should I do deadlifts?
For most people, one or two targeted sessions per week are enough. Because deadlifts are very demanding, you need enough rest between heavy sets—quality trumps frequency.
How much weight should I start with?
Start light enough that you can focus entirely on your form—often with an empty or lightly loaded bar. Only increase the weight once you can perform the movement cleanly for several sets.
Are deadlifts bad for your back?
No. When performed with proper technique and increased gradually, deadlifts are safe and can even promote back health. Injuries are usually caused by increasing the volume too quickly, not by the exercise itself.
Conventional or sumo—which is better for me?
It depends on your anatomy and your goals. The conventional style emphasizes the back and posterior chain, while the sumo style emphasizes the quadriceps and a more upright upper body. Try both for a few weeks and stick with the one that feels stable and powerful.
Do I need a weightlifting belt?
Not for light or moderate sets. For heavy sets, a belt can provide additional stability—but it should never replace your own bracing.
Conclusion
The deadlift is one of the most effective exercises you can learn: With a single movement, you work your entire posterior chain and grip strength. The key is the order—first the technique (hip hinge, neutral spine, barbell over the center of your feet, proper bracing), then progression. Choose the variation that suits your body and increase the intensity patiently. Get in touch with us if you need advice on setting up your equipment.